Background Notifications in React Native : A Step-by-Step Firebase and Expo Integration Guide
Navigating the intricate world of React Native development, we found ourselves grappling with the complexities of background notifications—a challenge shared by many in the field. As we delved into seamlessly integrating Firebase Cloud Messaging (FCM) into our React Native applications, a noticeable gap in comprehensive resources became apparent. In response to this common struggle, we embarked on a journey of exploration and discovery into the intricacies of background notifications in React Native.
This article not only shares the insights gained from overcoming these hurdles but also provides you with a roadmap to streamline your own implementation. By the end of our exploration together, you'll be equipped with the knowledge needed to effortlessly integrate background notifications into your React Native app using Firebase Cloud Messaging. Let's dive into the details!
Unraveling Firebase: What does it stand for?
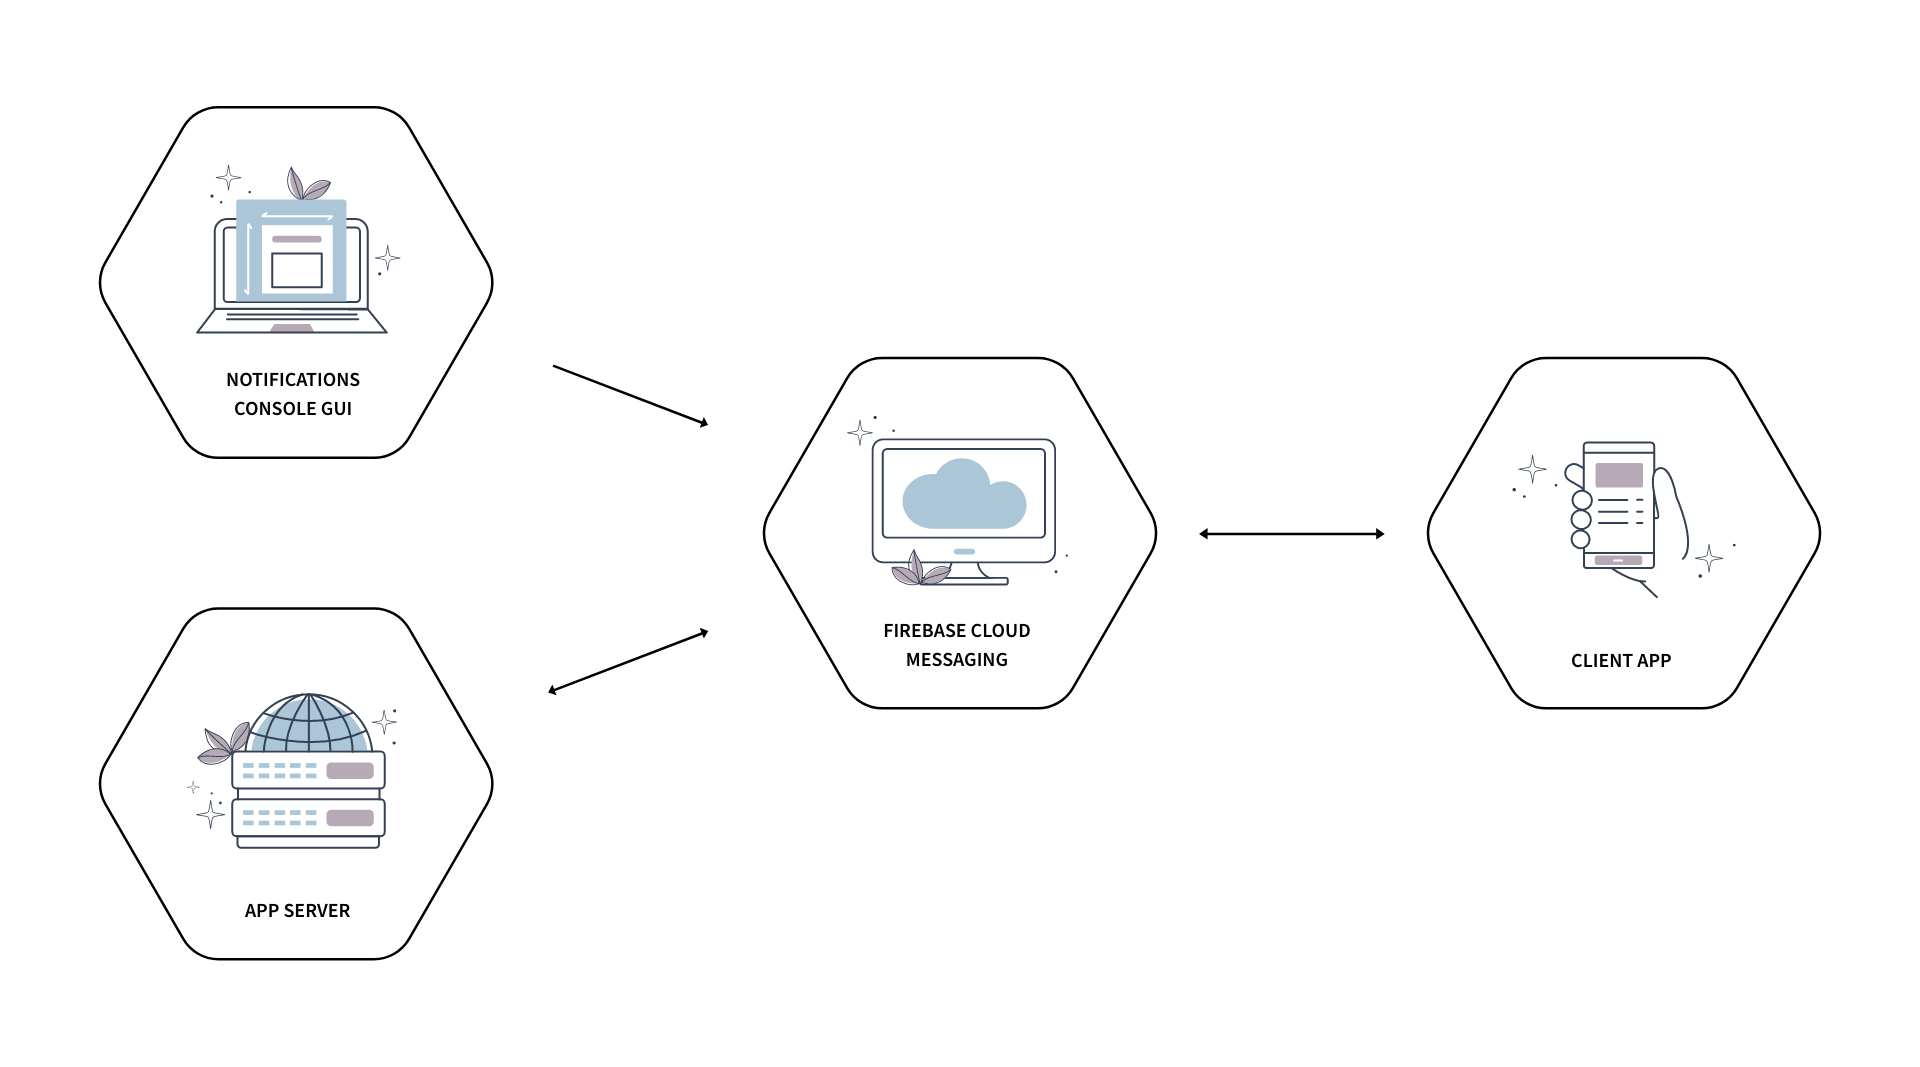
Firebase Cloud Messaging (FCM) serves as the backbone of our operational framework. It stands as the foundational infrastructure that empowers developers to establish a seamless channel of communication between the cloud infrastructure and React Native applications. FCM extends its support to both Android and iOS, ensuring uninterrupted communication even during periods of inactivity within the app. Now, let's unravel the significance of FCM in the realm of React Native development.
Pre-requisites: Setting the stage first
Before we embark on integrating FCM into your React Native project, let's ensure you have the necessary prerequisites in place. Follow these steps to set up your React Native project using Expo:
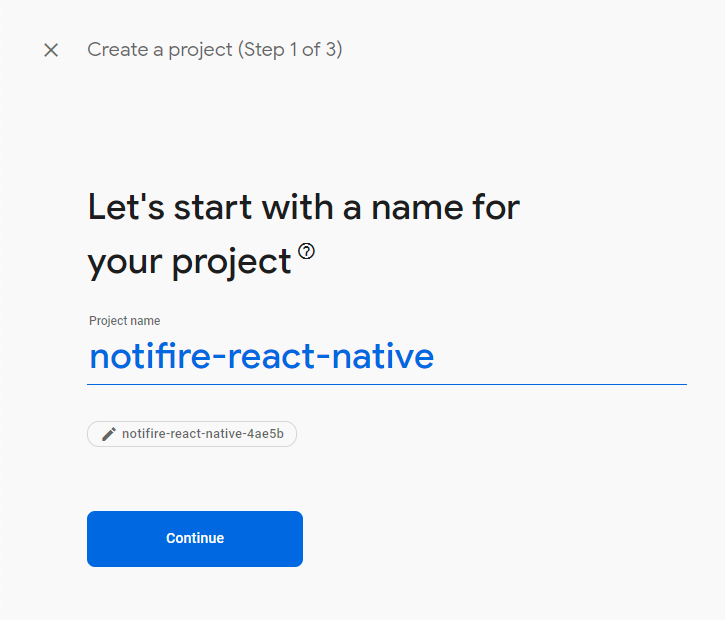
1. Create a new project named notifire-react-native
    npx create-expo-app notifire-react-native
    Copy
2. Navigate to the project directory
    cd notifire-react-native
    Copy
3. Start the development server
    npx expo start
    Copy
If you're using Ubuntu 20.04, you'll need to use a tunnel to open the development server:
    expo start --tunnel
    Copy
For more detailed instructions on creating a new project using Expo, refer to the official documentation.
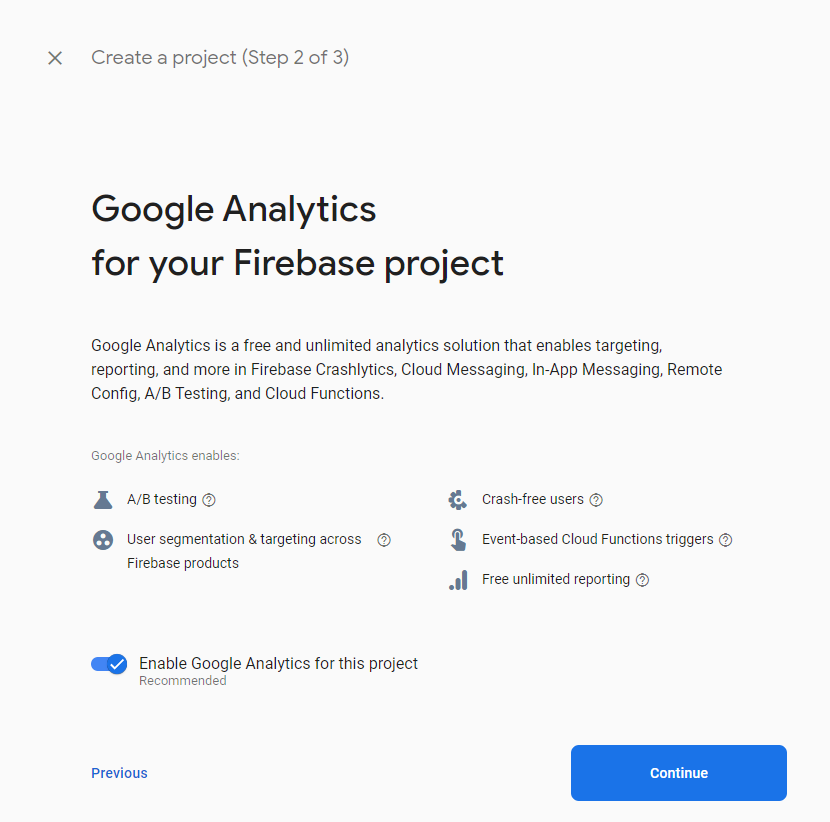
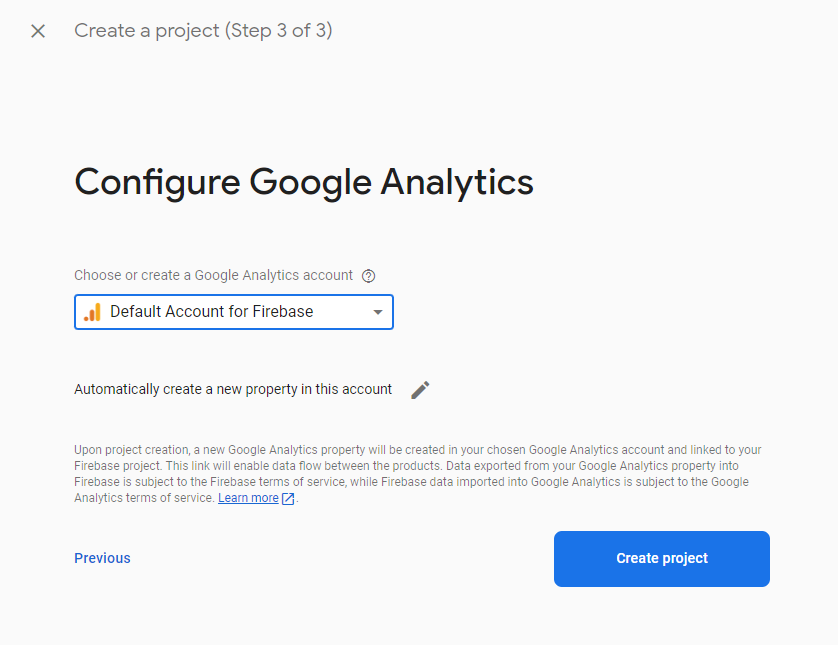
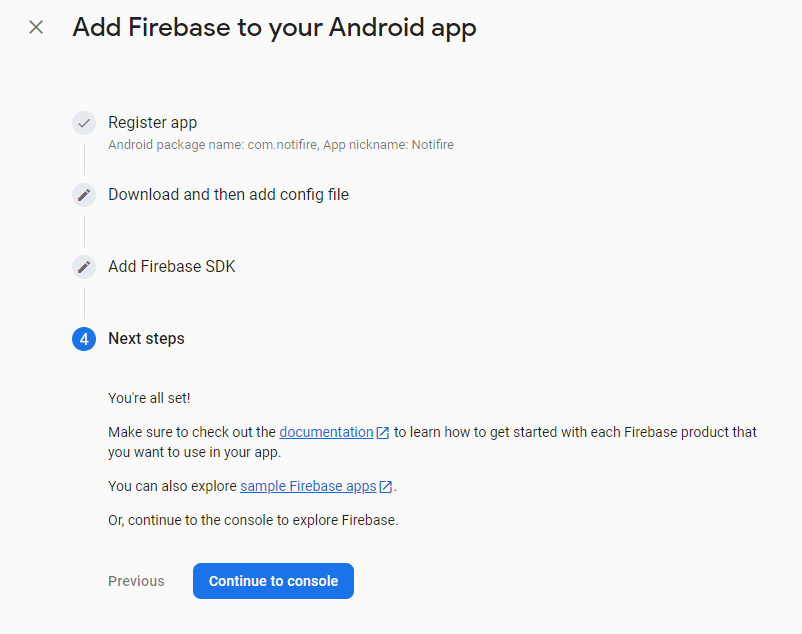
Now, let's integrate Firebase into your project. Follow these steps:
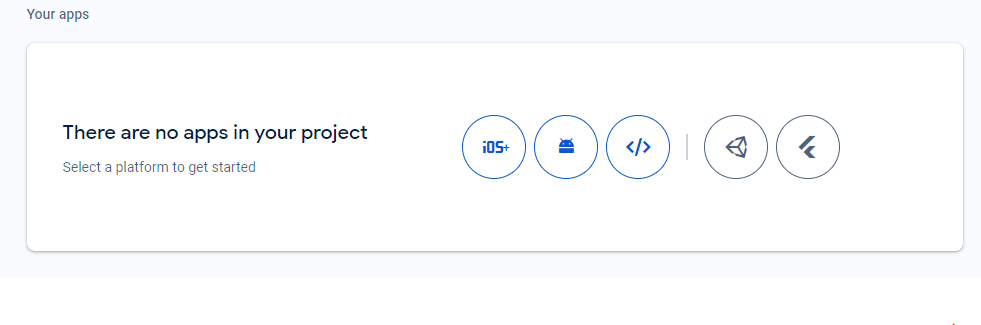
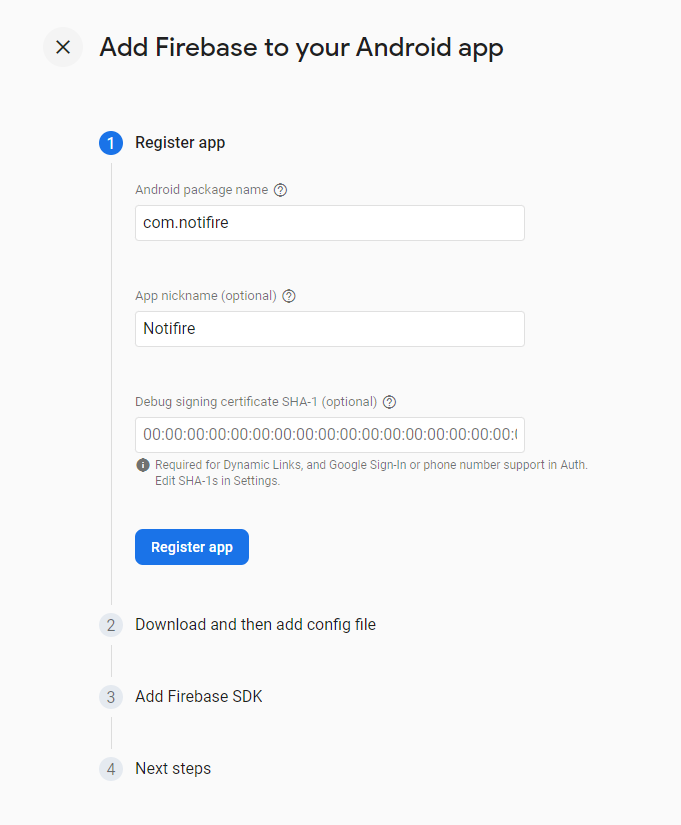
2. Create an app within your new Firebase project for each platform - IOS and Android.
Configuring Firebase in your React Native project
Before unlocking the full potential of any Firebase services, it's crucial to set up the foundation correctly. Follow these steps to configure Firebase seamlessly:
1. Install @react-native-firebase/app module
First, ensure you have the necessary module installed. Use Expo to install the @react-native-firebase/app package at the root of your React Native app:
    npx expo install @react-native-firebase/app
    Copy
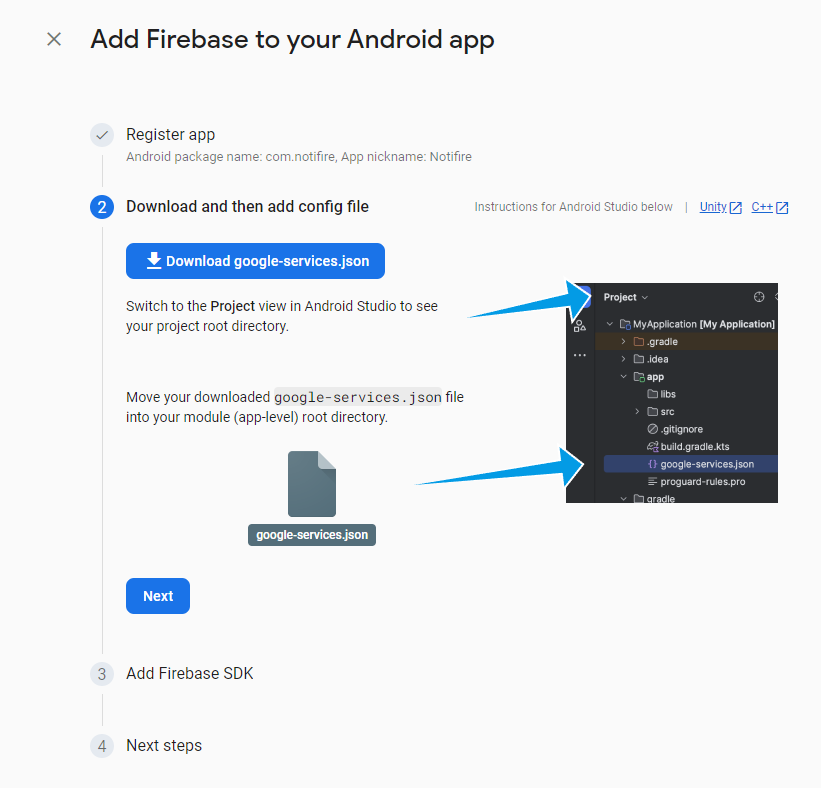
2. Add Firebase configuration files
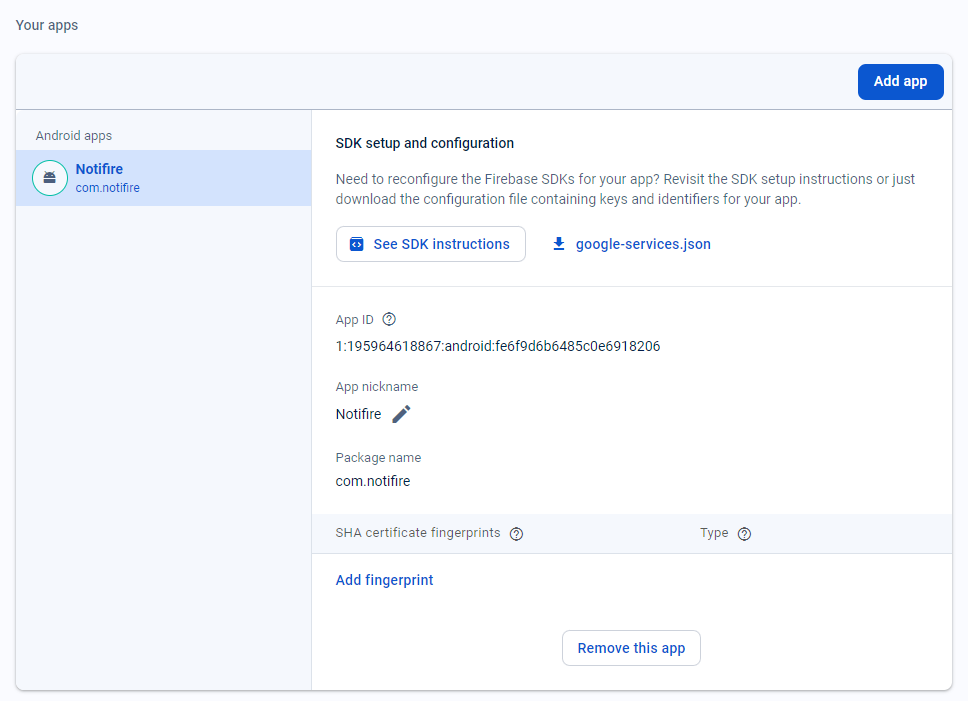
Download the respective configuration file for your platform from the Firebase console apps:
- For Android, download google-services.json.
- For iOS, download GoogleService-Info.plist.
Place these files in the root of your project.
3. Configure app.json
Next, update your app.json to include the googleServicesFile. Here's a snippet of what it should look like:
Let's clarify the key components of the Firebase configuration:
- apiKey: Your client API key from google-services.json.
- projectId: The unique user-assigned identifier for your Firebase project (an alias to reference your project), found in the Firebase console (Firebase console → Project overview → General Tab → Your project).
- project_number / messagingSenderId: Globally unique number identifiers for configuring integrations and/or making API calls to Firebase or third-party services (Firebase console → Project overview → General Tab → Your project).
- packageName: Your app's package name, common for both Android and iOS (Firebase console → Project overview → General Tab → Your apps).
- appId: Your app's unique identifier for both Android and iOS (Firebase console → Project overview → General Tab → Your apps).
Install firebase to initialize firebase app
    npm install firebase
    Copy
2. Initialise the Firebase app
    import { initializeApp } from 'firebase/app';
initializeApp(firebaseConfig);
    Copy
Establishing the connection between the FCM and the API component of the app is crucial for seamless communication. This involves utilizing an FCM token obtained from the messaging module of @react-native-firebase/messaging. Subsequently, this token is employed in the API to send notifications to the React Native app. To ensure proper functionality, the FCM token must be acquired, stored locally, and then transmitted to the API.
3. Acquire the FCM Token
Before obtaining the FCM token through messaging(), it's essential, especially on iOS devices, to request messaging permission from the application. This ensures that messages can be sent and received without any hindrance.
    await messaging().requestPermission();
    Copy
iOS specific considerations
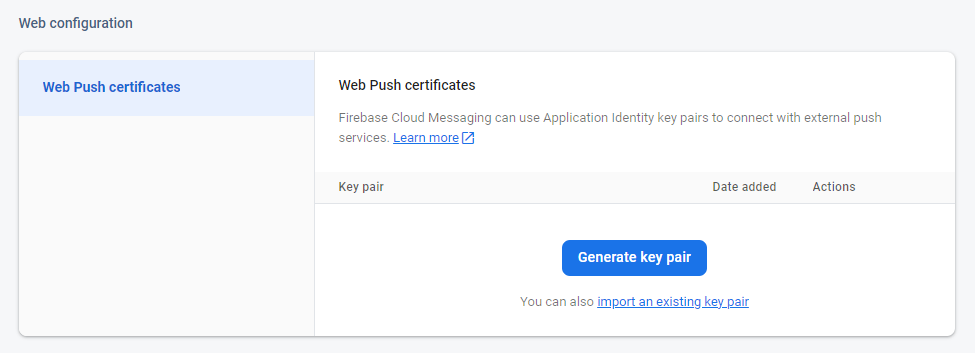
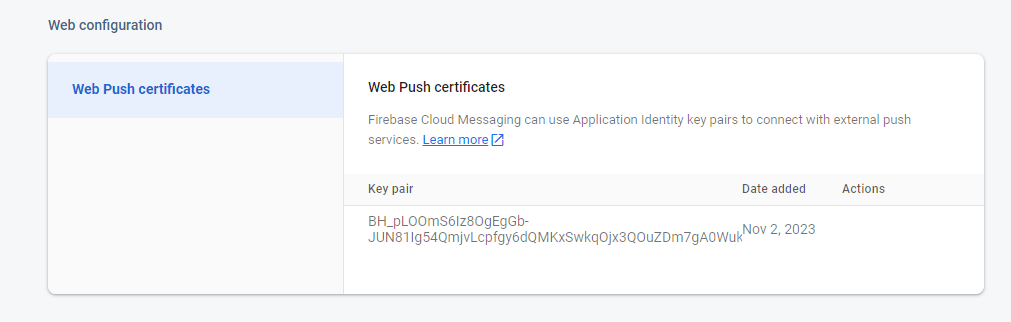
For iOS devices, if you want your app to receive messages from the FCM, explicit registration of the device is necessary if APNs auto-registration has been disabled. Additionally, acquiring the FCM token requires a VAPID key, which can be generated in the Firebase console project settings under Cloud Messaging → Web Configuration.
To globally store the token in the React Native app, @react-native-async-storage/async-storage can be employed, installed via npm or yarn. For sending the token to an API endpoint, axios interceptors can be utilized.
The firebase.ts file should resemble the following structure once the understanding of the FCM token's necessity and application is established:
    import 'firebase/firestore';
import 'firebase/auth';
import 'firebase/analytics';
// @ts-ignore
import { initializeApp } from 'firebase/app';
import { Platform } from 'react-native';

import messaging from '@react-native-firebase/messaging';
import AsyncStorage from '@react-native-async-storage/async-storage';

const firebaseConfig = {
    apiKey: 'AIzaSyBYKBZ3VUrsPMGZnuKai6b8gDIg6-oPEm8',
    projectId: 'notifire-react-native',
    project_number: '195964618867',
    messagingSenderId: '195964618867',
    packageName: 'com.notifire',
    appId: '1:195964618867:android:fe6f9d6b6485c0e6918206',
};
export default function Firebase() {
    const vapidKey = 'BH_pLOOmS6Iz8OgEgGb-JUN81Ig54QmjvLcpfgy6dQMKxSwkqOjx3QOuZDm7gA0WukBgPaEXdl45gzyiARLH8L0';
    async function getFirebaseToken() {
        initializeApp(firebaseConfig);
// store FCM token on the app current user ID
        const authUserId = 1;
//check if the app has the right permissions before getting the FCM token
        const hasPermissions = await messaging().hasPermission();
        function getFCMToken() {
            return messaging().getToken({
                vapidKey: vapidKey,
            });
        }
        if (Platform.OS === 'ios') {
            if (hasPermissions) {
                await messaging().registerDeviceForRemoteMessages();

                const fcmToken = await getFCMToken();

                await AsyncStorage.setItem('authUser', JSON.stringify({ fcm_token: fcmToken, id: authUserId }));
            } else {
                await messaging().requestPermission();
            }
        } else if (Platform.OS === 'android') {
            if (hasPermissions) {
                const fcmToken = await getFCMToken();
                await AsyncStorage.setItem('authUser', JSON.stringify({ fcm_token: fcmToken, id: authUserId }));
            }
        }
    }
    getFirebaseToken()
        .then((r) => console.log(r))
        .catch((error) => console.log(error));
}
    Copy
Testing Firebase Cloud Messaging on Android devices
When testing the FCM in our React Native app for iOS, a crucial step is to leverage platforms such as TestFlight. TestFlight offers a controlled environment for thorough application testing before official release, allowing users to validate features, including FCM integration, in a real-world scenario. Refer to the official Firebase documentation for detailed instructions and guidelines on testing FCM with TestFlight.
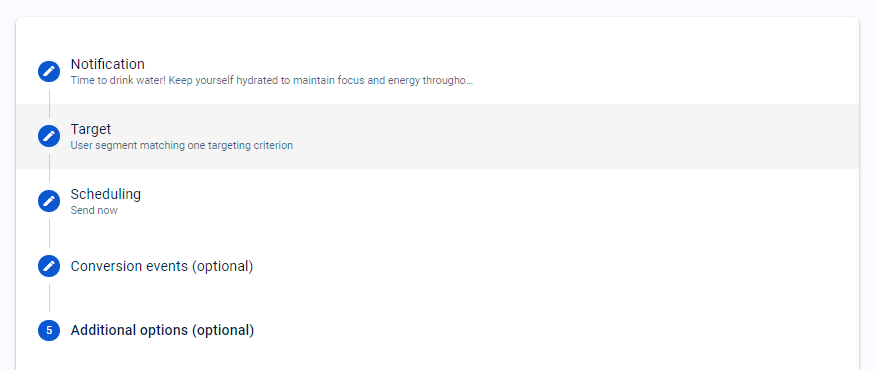
Sending background messages from Firebase console
Now that we've configured our React Native app to receive remote messages via FCM and tested it on both Android and iOS platforms, let's explore sending remote messages directly from the Firebase console.
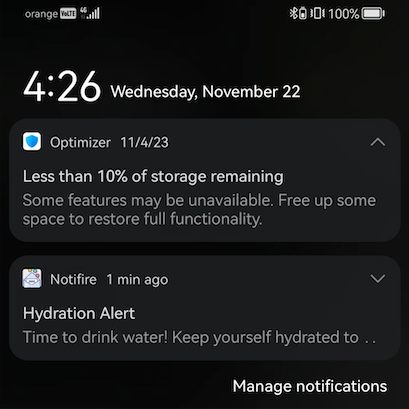
With this successful implementation, our React Native application achieves a significant milestone – background notifications seamlessly integrated.
Tools
As we wrap up this guide on integrating background messages with Firebase Cloud Messaging (FCM) in a React Native app using Expo, our goal has been to streamline your development journey. By providing a clear roadmap and sparing you from extensive research, we've navigated the intricacies of setting up FCM within the Expo environment.
This guide aims to empower you with a straightforward path to leverage the capabilities of background messages. We hope this resource proves valuable, accelerating your understanding and implementation of push notifications in your React Native projects.
Stepping into Dynamics 365 F&O as a junior means facing complexity, learning business logic fast, and relying on mentorship to turn confusion into real, impactful problem-solving skills.